The Art of Cultivating Panaeolus Cyanescens
Cultivating Panaeolus cyanescens, commonly known as Blue Meanies, Pans, or Pan Cyans, can be achieved using various techniques. However, when it comes to growing exotic varieties of magic mushrooms, it’s essential to provide extra care to ensure a smooth fruiting process. Follow my technique, and you’ll be able to achieve full canopies of these potent mushrooms.
What Makes Panaeolus Cyanescens Unique?

Panaeolus Cyanescens are among the most potent psilocybin-containing mushrooms you can grow at home. This group of mushrooms can be easily identified compared to their counterparts, such as Psilocybe Cubensis (commonly referred to as “cubes”).
Key Differences Between Panaeolus Cyanescens and Psilocybe Cubensis
The most notable difference between a pan and a cube is the stem thickness. The stem of a Panaeolus Cyanescens is very frail and skinny, almost like a toothpick. This is the most identifiable trait that distinguishes Pans from Cubensis varieties. While Panaeolus Cyanescens mushrooms are much smaller than Psilocybe Cubensis mushrooms, what they lack in size, they more than makeup for in potency.
The Potency of Panaeolus Cyanescens
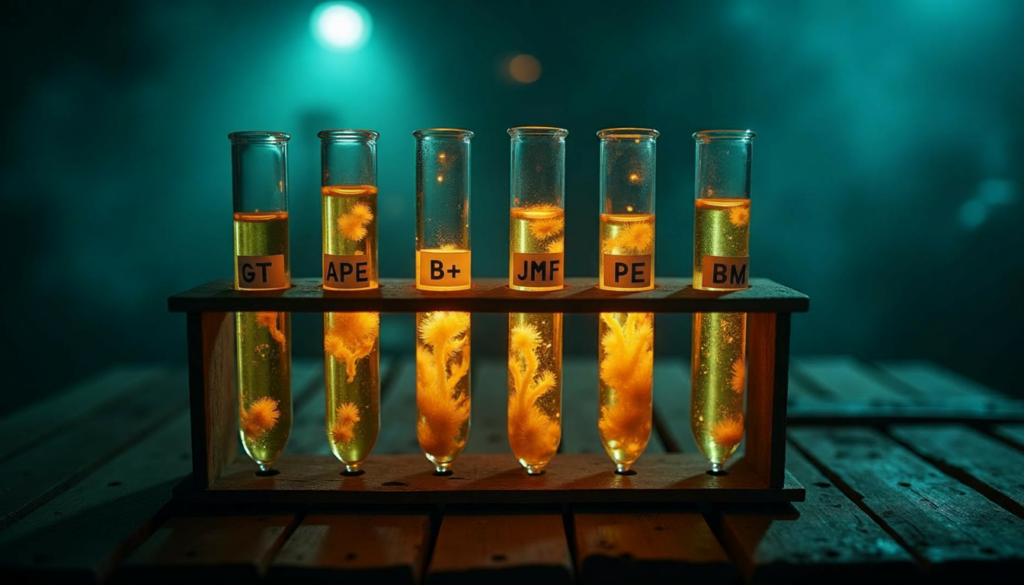
Gordo Tek, a well-known citizen scientist in the mushroom industry with a booming Patreon focused on Pans, frequently shares test results from national potency competitions. These competitions compare the potency of different mushroom varieties, including Pan Cyans and cubes. The latest competition showed that the Tamarind Tree British Virgin Islands varieties of Panaeolus Cyanescens achieved a potency of nearly 4% active psilocybin, which is almost five times more potent than the popular Golden Teacher mushrooms.
Is It Worth Growing Panaeolus Cyanescens at Home?
When asked whether it’s worth growing Panaeolus Cyanescens at home, my answer is a resounding Yes!
Why You Should Consider Growing Panaeolus Cyanescens
Pans grow almost twice as fast as cubensis mushrooms and contain more than five times their weight in active components. Not only do these mushrooms test higher in potency, but they also have a more balanced alkaloid profile, contributing to a more visual and profound psychedelic experience. As the psychedelic industry continues to evolve, exotic mushroom varieties like Panaeolus Cyanescens will likely play a significant role in the future.

Your first genetics are on us.
Subscribe to our newsletter to get a free spore syringe.
How to Start Your Panaeolus Cyanescens Garden
Starting your Panaeolus Cyanescens garden begins with acquiring spores, and the best way to do this is through a spore print. Spore prints are the most reliable method for producing a vibrant yield of Pans. When growing any mushrooms, starting a new generation via spores can often result in more consistent and robust growth.
Step 1: Preparing Your Agar Plates
Once you have obtained a spore print of the Pans, use a sterile scalpel to transfer the spores to your agar plates. For optimal results, I recommend using an agar mixture consisting of:
- 30 grams of sorghum syrup
- 10 grams of bacteriological peptone
- 1 liter of spring water
Pressure cook the mixture for 45 minutes, then allow it to cool to around 50°C before pouring it into your plates. To avoid condensation on your plates, I use a digital water bath to cool the agar media bottles to the proper temperature.
Step 2: Inoculating Your Agar Plates
Once the agar has cooled, use a sterile scalpel to add a small dot of spores to each plate. It only takes a tiny amount of spores to propagate the mycelium. As the mycelium forms, you can transfer it to your grain bag of choice. To do this, break the plate into pieces and distribute the colonized agar evenly throughout the grain bag. For faster colonization, I add an entire agar plate to a 1 lb grain bag.
Step 3: Preparing Your Substrate Bag
Once the grain bag has fully colonized, transfer it to a 3 lb substrate bag, preferably one that contains manure. While some growers have success with a standard CVG (Coco Coir, Vermiculite, Gypsum) substrate, I highly recommend using a manure-based substrate for Panaeolus Cyanescens. My go-to choice is Myco Alchemy’s manure-amended substrate.
Step 4: Colonizing the Substrate in Trays
After the substrate bag has colonized, it’s time to break it up and transfer it to your preferred trays for fruiting. Shoe box tubs work exceptionally well for this variety, as they help shrink the growing field, ensuring even colonization and preventing the cakes from drying out. Once the substrate is distributed in the trays, give it a few more days to consolidate and repair.
Step 5: Adding a Casing Layer
Now it’s time to add a casing layer. I prefer using 100% vermiculite as my casing layer. The purpose of a casing layer is to maintain humidity at the surface level, acting as a warm, wet blanket over the substrate. After pasteurizing the casing layer at field capacity, allow it to cool, then add a thin layer, about 1/4 inch thick, to your trays. Close the lid and let the substrate acclimate and colonize the casing layer for another 1-2 days.

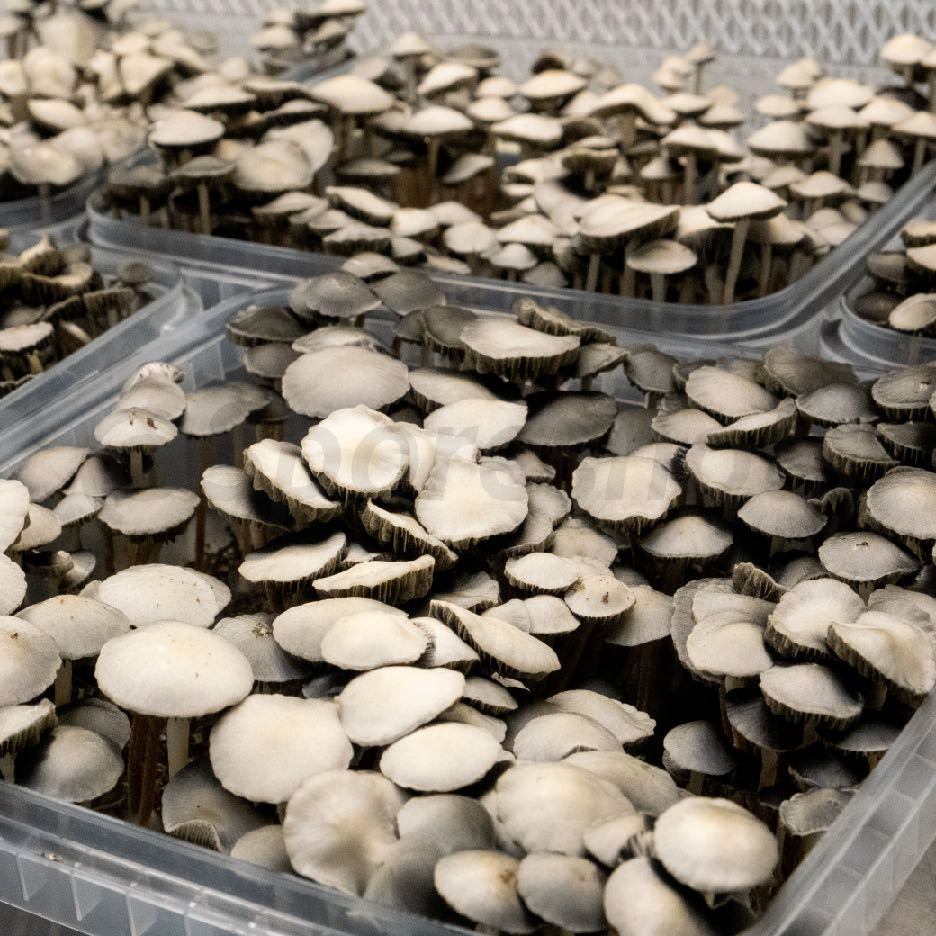
Fruiting Time: The Final Stage of Growing Panaeolus Cyanescens
Now that you’ve reached the final stage of the grow cycle for Panaeolus Cyanescens, it’s time to focus on fruiting. Properly managing humidity and evaporation is crucial to achieving a successful harvest.
Setting Up Humidity and Evaporation
To create the ideal environment for fruiting, you’ll need a humidifier and a timer. I recommend using a short-cycle timer that allows for precise control, down to the minute, per hour. Depending on your climate, you should set the timer to activate the humidifier for about 5 minutes every hour. If you’re in a particularly dry environment, consider running the humidifier for 5 minutes every 30 minutes to prevent desiccation.
Controlling Your Panaeolus Cyanescens Grow Chamber
For optimal results, I suggest using a Martha tent inside a grow tent. This setup helps maintain consistent humidity levels, reduces the risk of contamination during the fruiting stage, and prevents spores from spreading throughout your house or lab. By enclosing the humidifier within this system, you create a more controlled environment that enhances the success of your grow.

Introducing Your Panaeolus Cyanescens Trays to Fruiting
Once your trays have been cased, monitor them closely. When you see mycelium starting to poke through about 20 percent of the casing layer, it’s time to introduce them to fruiting conditions.
Accelerating Fruiting with Dunking
To accelerate the fruiting process, consider dunking your cakes. Since Panaeolus Cyanescens are tropical mushrooms, they thrive when submerged in water. At this stage, contamination is less of a concern because your mycelium has developed immunity. Dunk your cakes with about a half cup of water—this should be sufficient to encourage fruiting.
Setting Up the Light Cycle
Maintaining the correct light cycle is crucial for the fruiting stage. Set your lights to a standard 12 hours of light and 12 hours of darkness. This balanced schedule mimics natural conditions, promoting healthy mushroom growth.
Enhancing Humidity with Perlite Trays
In addition to using a humidifier, incorporating perlite trays can significantly improve humidity control. Place trays filled with perlite on the bottom layer of your grow tent. These trays help catch and retain excess moisture, maintaining a consistently humid environment essential for the fruiting process.
Choosing the Right Lighting
Proper lighting doesn’t have to be complicated. A simple guideline is to ensure there’s enough light to comfortably read a book in your grow area. Fluorescent office lighting or a shop light are more than sufficient for supporting the growth of Panaeolus Cyanescens without generating excessive heat or energy consumption.
Managing Humidity and Preventing Dryness
Be patient and consistently monitor humidity and surface conditions. If the casing layer appears dry, use a mister to manually spray water, preventing the cakes from drying out. Maintaining optimal humidity is key to avoiding issues like desiccation and ensuring robust mushroom development.
Controlling the Grow Environment for Panaeolus Cyanescens
For optimal results, use a Martha tent inside a grow tent. This setup helps:
- Maintain Humidity: Keeps the environment consistently moist.
- Reduce Contamination: Minimizes the risk of contaminants during the fruiting stage.
- Control Spore Spread: Prevents spores from dispersing throughout your space.
- Ensure Cleanliness: Keeps your growing area tidy and organized.
Accelerating Fruiting with Dunking
Once your trays have been cased and you observe mycelium poking through about 20% of the casing layer, it’s time to introduce them to fruiting conditions. Dunking your cakes can accelerate the fruiting process. Since Panaeolus Cyanescens thrive in tropical conditions, submerging them in water is beneficial. Dunk your cakes with approximately half a cup of water to promote faster fruiting. At this stage, contamination is less of a concern as your mycelium has developed immunity.
Key Takeaways
To ensure a successful cultivation of Panaeolus Cyanescens, keep these key points in mind:
- Start with Spore Prints: Using spore prints provides more reliable results than isolated syringes, leading to a more vibrant yield.
- Use a Short-Cycle Timer: A short-cycle timer maximizes humidity control and reduces the frequency of refilling your humidifier.
- Implement a Martha Tent Inside a Grow Tent: This combination helps prevent contamination, maintain consistent humidity levels, control spore spread, and keep your growing area clean.
- Add Perlite Trays: Placing trays of perlite at the bottom of your Martha tent collects excess water during the fruiting stage, aiding in humidity management.
- Monitor and Maintain Humidity: Stay patient and vigilant. If the casing layer looks dry, manually spray with a mister to prevent the cakes from drying out.